


In this tight economy it is always great to find a bargain. If you want to add more plants to your garden for little expense, why not learn some simple propagation techniques to grow your own plants? Most people are familiar with growing plants from seeds, but if you already have a healthy, mature plant, it is often quicker and easier to work directly with your existing plant to propagate more by division, cuttings or layering.
Division: Many perennial plants can grow large and form ever-widening clumps. When this happens, you can increase the vigor of your plants and add to their number by dividing the large clumps into several smaller plants. Plants that respond well to division include day lilies, hostas, hellebores, iris, ornamental grasses and liriope. If your plant blooms in the spring, divide it in the fall after blooms have faded. If the plant blooms in late summer or fall, wait to divide until the early spring.
When dividing a plant, dig up a large clump, taking as much of the root ball as possible. After you’ve dug up the clump, use a sharp shovel or knife to slice through the root ball mass. For a large clump, you may be able to divide it into several smaller clumps. Plants with bulbs or rhizomes can be gently pulled apart from each other to form individual new plantings. Replant the divisions in holes amended with compost and keep them hydrated.
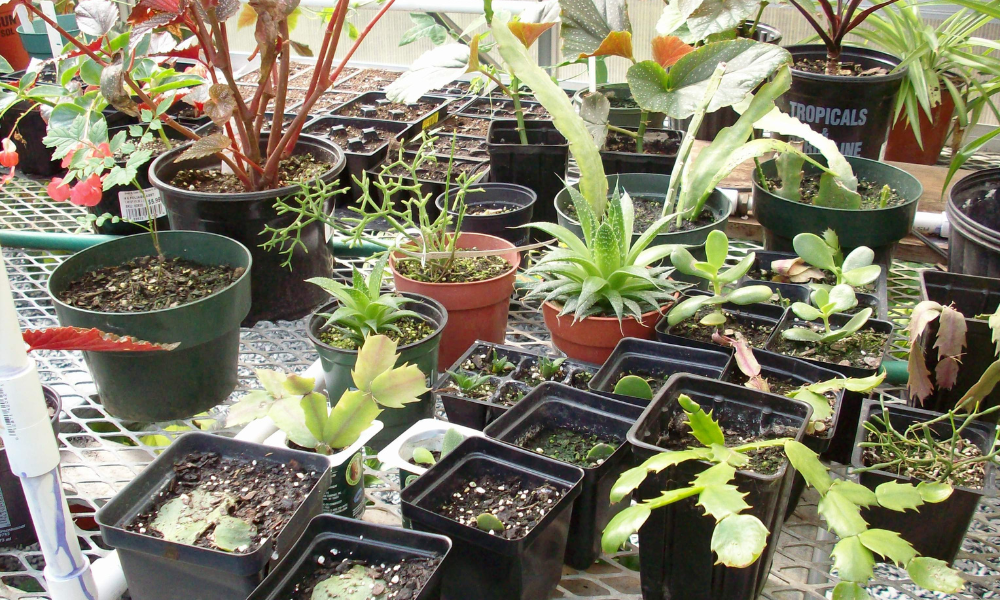
Stem Cuttings: This method is the most popular way to multiply plants. Stem cuttings can be taken from most plants with noticeable nodes. Nodes are the bumps along the stem where leaves are attached. Choose a healthy stem with several nodes and clip off below the lowest node. Remove all but the top two leaves at the tip of the cutting. Roots will form from these nodes. Before planting you can also apply a rooting hormone like Rootone® to the cut section to stimulate faster rooting but you can usually omit this step unless it is a plant that is difficult to root. Make a hole in a small container filled with potting mix (not regular soil from the garden) to receive the cutting, and cover at least the bottom two nodes with the potting mix.
After planting, keep the plant moist and place in a warm location in your home with indirect sunlight. To increase the humidity level while the roots are forming, you can also surround the container with a clear plastic bag. Make sure there is a hole in the bag for air circulation. Lighted fish aquariums are perfect to root your stem cuttings and provide the correct humid environment.
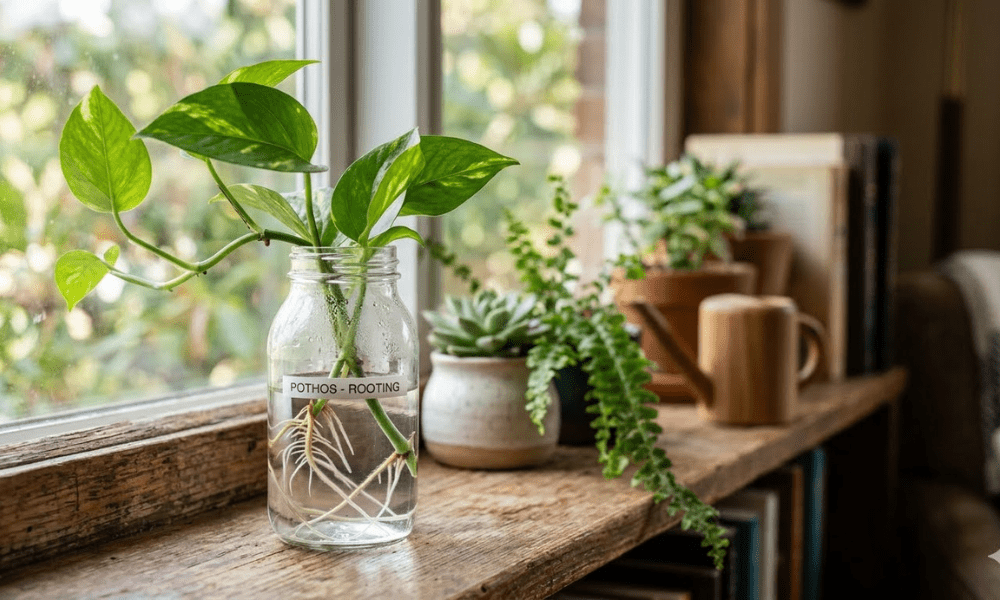
Many stem cuttings from can be placed directly into water to root. Plants that are easy to root in water include, pothos, spider plant, philodendron, begonia, soft-stemmed herbs (like basil), and coleus. Simply locate the node and cut below it. Snip 1/4 inch beneath the node using sharp, sterilized scissors. Strip the lower leaves so these leaves will not sit underwater and rot. Submerge the stem in clean water, ensuring the remaining leaves stay completely dry. Plant in potting mix after it roots.
Leaf Cuttings: Leaf cuttings are another easy way to root new plants. Many succulent plants with their thick fleshy leaves are good candidates for propagation using the leaf cutting method. Simply break off a leaf and place it directly into the potting mix. If it is a large leaf, slice off a section with a vein. You can cover the cut piece with rooting hormone before planting to encourage faster rooting.
Layering: Layering is one of the ways that nature propagates plants. In the natural world when a stem from a plant trails on the ground and gets covered by leaves or soil, it will eventually root and create a new plant. Take a lesson from nature and try this easy method yourself.
Hydrangeas, azaleas and gardenias are good candidates for simple layering. Look for a flexible stem that is growing near the ground. Bend the stem to the ground and make a small wound in the stem that is in contact with the ground by gently scrapping off some of the outer layer. Cover this part of the stem with soil. You can secure the stem to the soil with a landscape staple or by placing a rock over the soil-covered stem. Bend the tip of the branch being layered toward the sky. It may take one or two seasons for roots to develop. When roots have developed you can sever the new plant from the mother plant but let it remain in place for a few weeks to acclimate from being separated. Then, dig it up, plant it and voila…you have a new shrub.
For more information on plant propagation, contact your UGA Cooperative Extension Office.


Leave a Comment
You must be logged in to post a comment.