


 2153
2153 0
0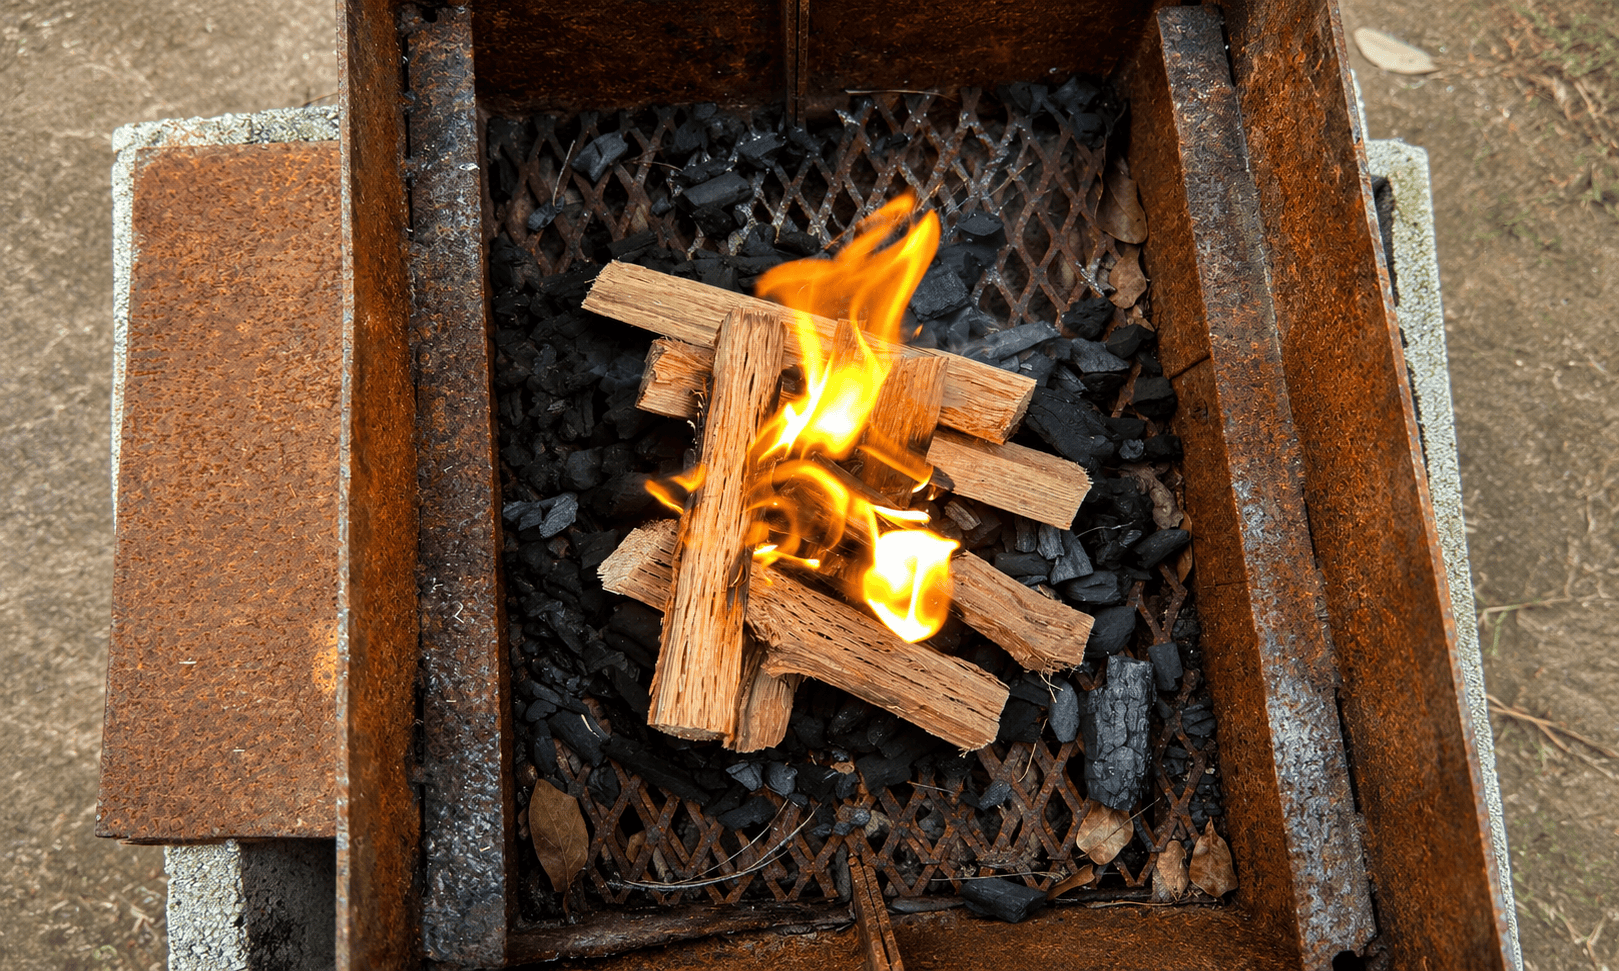
What’s up, my Eaters!
Before gas burners, electric ovens and air fryers, there was fire. It gave us heat, protection and dinner. That is why I believe knowing how to build and manage a fire is more than a cooking trick. It is a life skill. Fire also gives food flavor, texture and character that are difficult to duplicate any other way.
Still, I understand why charcoal intimidates people.
A gas grill lets you turn a knob and get to work. Charcoal asks you to participate. You have to light it, watch it and manage it. That can feel like a barrier, especially if nobody has shown you what to do.
But it does not have to be difficult.
When my wife and I opened our restaurant around 2008 or 2009, we served Caribbean and soul food. Naturally, I put jerk chicken and jerk pork on the menu. There was only one problem: I had never truly grilled in a commercial setting.
Authenticity mattered, and I knew real jerk needed charcoal and live fire. So, I put it on the menu and hoped for the best.
I will never forget one of my cooks, Johnny Knowles. He came outside one day and saw me wrestling with the grill.
“What are you doing?” he asked.
“Johnny, I’m grilling,” I said. “I’m jerking this chicken.”
He looked at me and said, “Chef, that ain’t grilling.”
Johnny became the first person to show me what cooking over charcoal was supposed to look like.
Years later, when I started Pink’s Barbecue, my passion for fire returned. This time, I was determined to truly understand live-fire cooking.
Choose Your Charcoal
The two most common choices are briquettes and lump charcoal.
Briquettes are the small, uniform pieces most people recognize. Lump charcoal is natural wood that has been reduced to charcoal, leaving irregular pieces of different sizes.
For years, I used briquettes because that was what I knew. Then I discovered lump charcoal, and I have never gone back.
In my experience, lump charcoal burns hotter, responds quickly to airflow and can often be reused. It is also a natural wood product, which matters to me.
Then there is match-light charcoal, which contains added accelerants. I used it when I was younger because it saved time. Now, I stand firmly on this hill: match-light charcoal is not for me.
I do not want lighter-fluid smell or flavor near my food, grill or smoker. Whatever charcoal you use, never reach for gasoline, alcohol or another unapproved accelerant. Dinner is the goal, not becoming the evening news.
Build the Foundation
Your coal bed is everything. It is the foundation of your fire and your entire cook.
Think about what you are cooking and how long it may take. A few hot dogs need less fuel than several racks of chicken or a pile of burgers. Experience will teach you how much charcoal your grill needs, but in the beginning, I would rather see you use a little too much than not enough.
I also believe in two-zone cooking.
Arrange most of your charcoal on one side of the grill and leave the other side without direct heat. The hot side is for searing and browning. The cooler side is for finishing thicker foods, cooking delicate items or rescuing anything getting too dark.
Before lighting the fire, clear away excess ash and open the vents. Fire needs oxygen. A grill that cannot breathe will struggle to stay lit.
Light the Fire
A chimney starter is one of the easiest tools for beginners. Fill it with charcoal, place an approved fire starter or plain paper beneath it and light it.
My method uses an all-natural fire starter and small pieces of dry kindling. I arrange my charcoal, place the starter near the center, light it and add a few small pieces of wood. The kindling catches, and that heat ignites the charcoal around it.
Then, be patient.
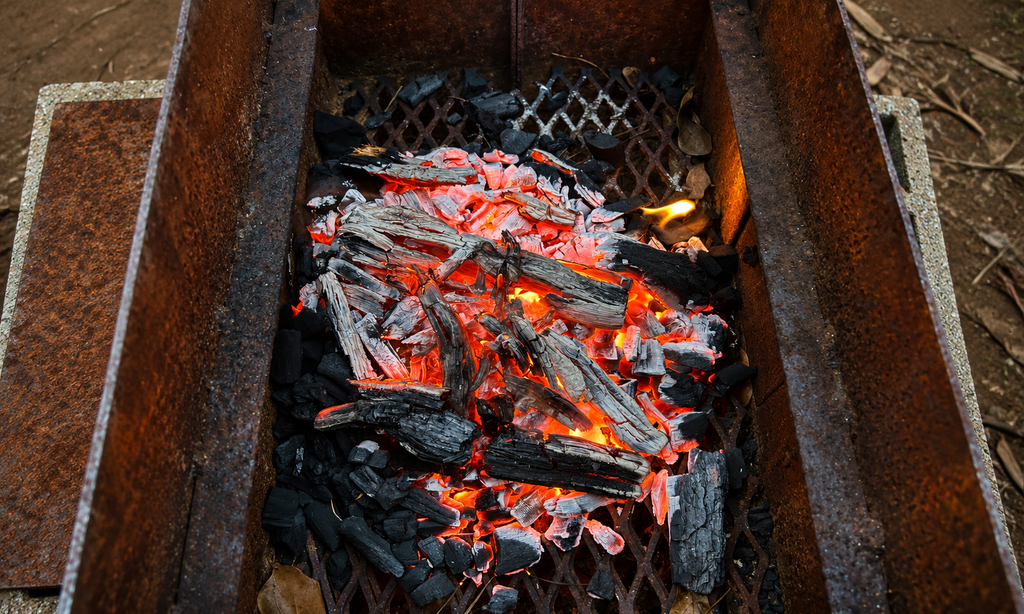
You are not simply looking for big flames. You are building a steady bed of hot coals. Depending on the charcoal, weather and grill, this usually takes about 15 to 20 minutes.
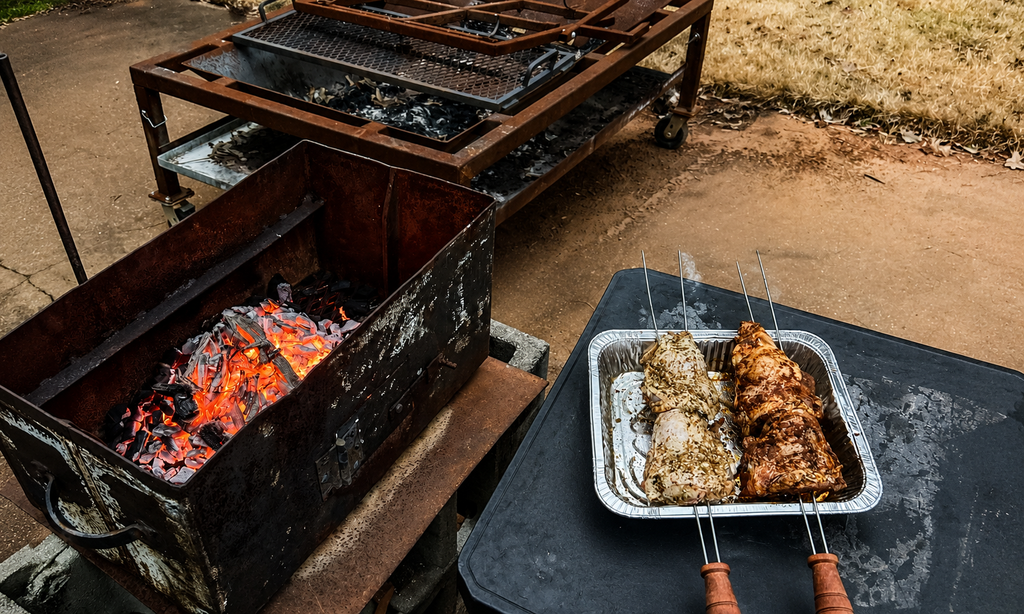
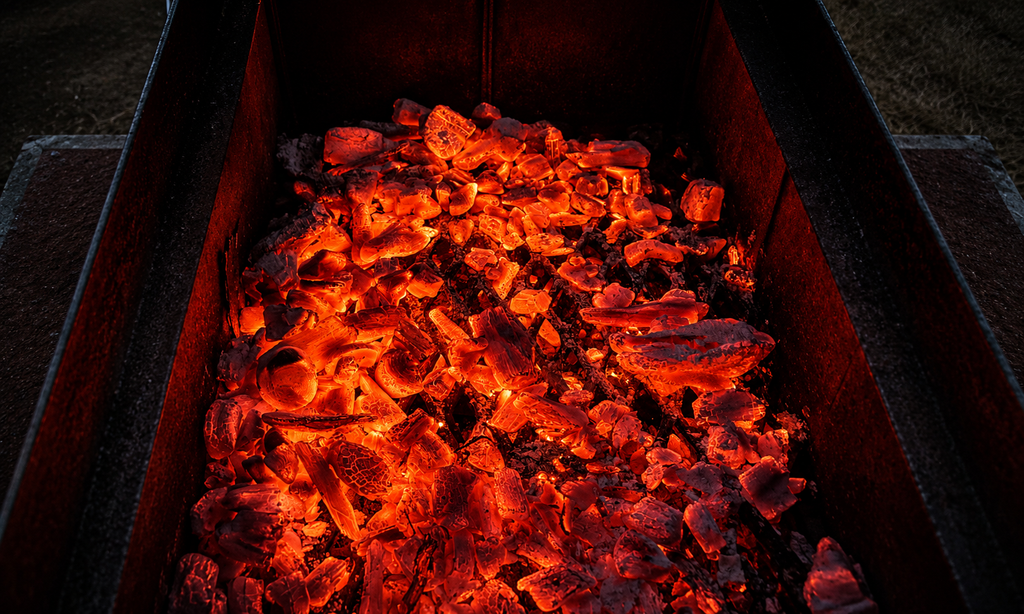
As the charcoal ignites, it will glow and develop a light gray coating of ash. Most of the coal bed should be burning steadily before you begin cooking. You want strong heat and glowing charcoal, not wild flames.
Never leave an open fire unattended.
Arrange the Heat
Once the charcoal is ready, use long-handled tongs or a charcoal rake to create your two zones. Place the cooking grate over the fire, let it heat, and clean it before adding food.
A thermometer is useful, but live-fire cooking also asks you to use your senses. Look at the fire. Listen to it. Eventually, you will learn to feel what it is doing.
One traditional test is to carefully hold your hand several inches above the grate and count how long you can comfortably keep it there.
Three to four seconds means very hot heat, useful for searing. Five to six seconds is medium-high heat and works for many everyday grilling jobs. Seven to ten seconds means gentler heat, better for delicate foods or slower cooking.
This is only a rough guide. Never touch the grate or force yourself to tolerate unsafe heat.
When I cook burgers, I may begin them over the hot side to develop color and crust. Then I move them to the cooler side to finish without burning.
That is fire management, and that is where the real art of grilling begins.
Keep Learning
Once you understand how to build a coal bed, create cooking zones and control airflow, charcoal stops feeling unpredictable.
You are no longer fighting the fire. You are managing it.
As summer moves toward football season and cooler evenings, I encourage you to grab a bag of charcoal and light the grill. Maybe charcoal has intimidated you. Maybe your last attempt ended with burned chicken, raw burgers or enough smoke to send the neighbors inside.
Try again.
Something special happens when a charcoal grill is lit. People gather around it. They talk, laugh, offer unsolicited advice and wait for that first hot piece of food to come off the grate.
Fire creates flavor, but it also creates community.
Go build the fire. Learn how it moves, how it breathes and how it responds.
Most importantly, keep grilling—and grill often.
Until next time, my Eaters, stay safe.
I am gone!







Leave a Comment
You must be logged in to post a comment.